Decoding I2C data with Flojoy
Using a Tektronix oscilloscope
This is the second in a series on test & measure automation using Flojoy and Tektronix instruments.
See Part 1 on how to characterize a filter with a Bode plot.
Flojoy Introduction
Flojoy is a modern test and measurement (T&M) app that uses Python. Flojoy has the ease of use common with no-code applications. It also offers advanced users the option to create custom Blocks of Python code for specialized applications. Here we show a use case for using Flojoy with Tektronix instruments.
I2C
I2C (Inter-Integrated Circuit, Wiki) is a serial communication bus first used in the 1980s. The biggest advantage is simplicity (2 pins) and the biggest disadvantage is speed (or lack thereof) compared to other bus standards. When testing circuits, serial buses must sometimes be decoded to ensure a device is working as intended. Oscilloscopes are often used for this purpose. Here, we demonstrate how to use Flojoy for no-code decoding of I2C signals.
Setup
The first step is ensuring Flojoy can connect to the oscilloscope. See Part 1 for a guide on how to make a hardware connection in Flojoy. Also ensure your I2C source is turned on and connected correctly to either digital or analog channels on the scope (one for each data and clock).
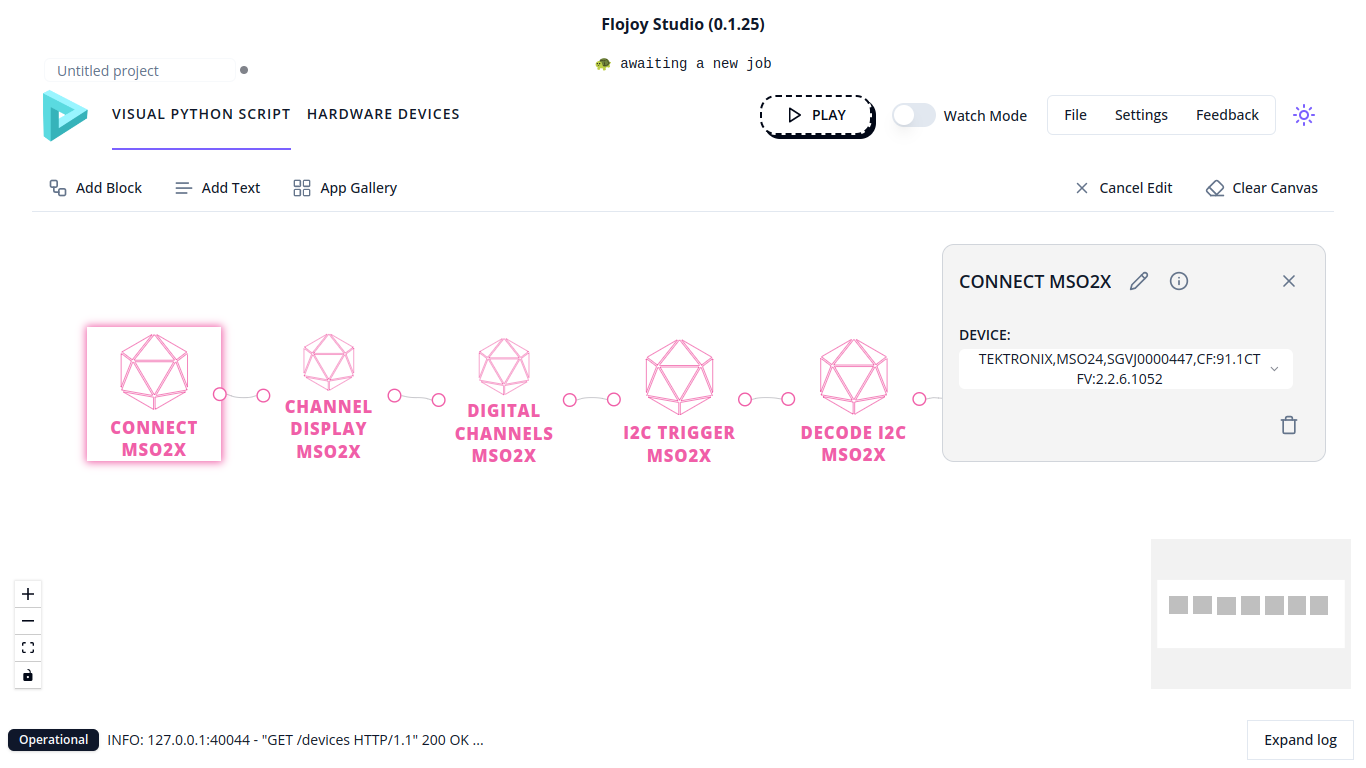
Next, load the I2C setup app. You can see in Figure 2, the app is made of “MSO2X” blocks. Right click the first block and press “edit block”. For all of the blocks, ensure the instrument selected in the parameters is the correct one. The instrument parameter should be the top one in the parameter menu. Here, the selection is an MSO24 oscilloscope.
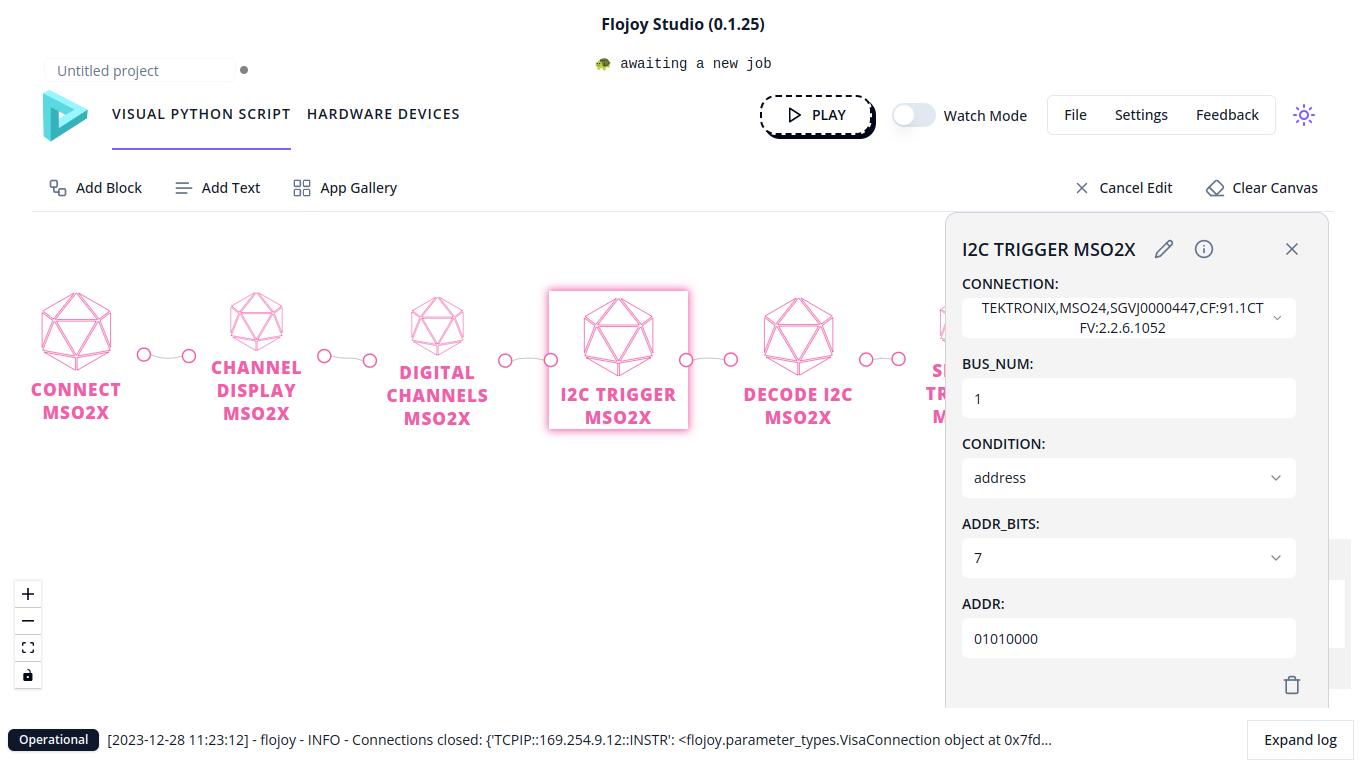
Next, other parameters must be setup according to your specific needs. For example, turn channels on or off with CHANNEL DISPLAY MSO2X and DIGITAL CHANNELS MSO2X blocks as required. Then, choose the I2C specifics such as number of bits to trigger on and which channels to use as clock and data (with DECODE I2C MSO2X).
Once the parameters are set, run the setup app to ready the oscilloscope. The SETUP FILE MSO2X block can be used to save all these settings on the oscilloscope for later use.
Running the decoding app
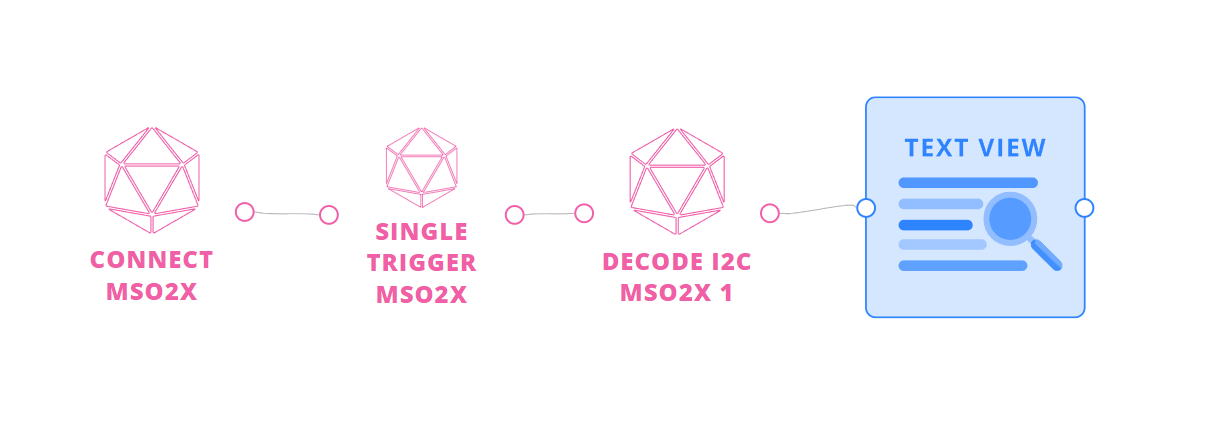
Once the setup app has been run, load the decode I2C app. Ensure the parameters of the decode block matches your requirements and that the correct instrument is selected. Note the SETUP FILE MSO2X block can be inserted between the connection and single trigger blocks to include the setup app in a single block (if you have the settings already saved on the oscilloscope). This app triggers the oscilloscope (once) every time it is run and decodes the resulting I2C message.
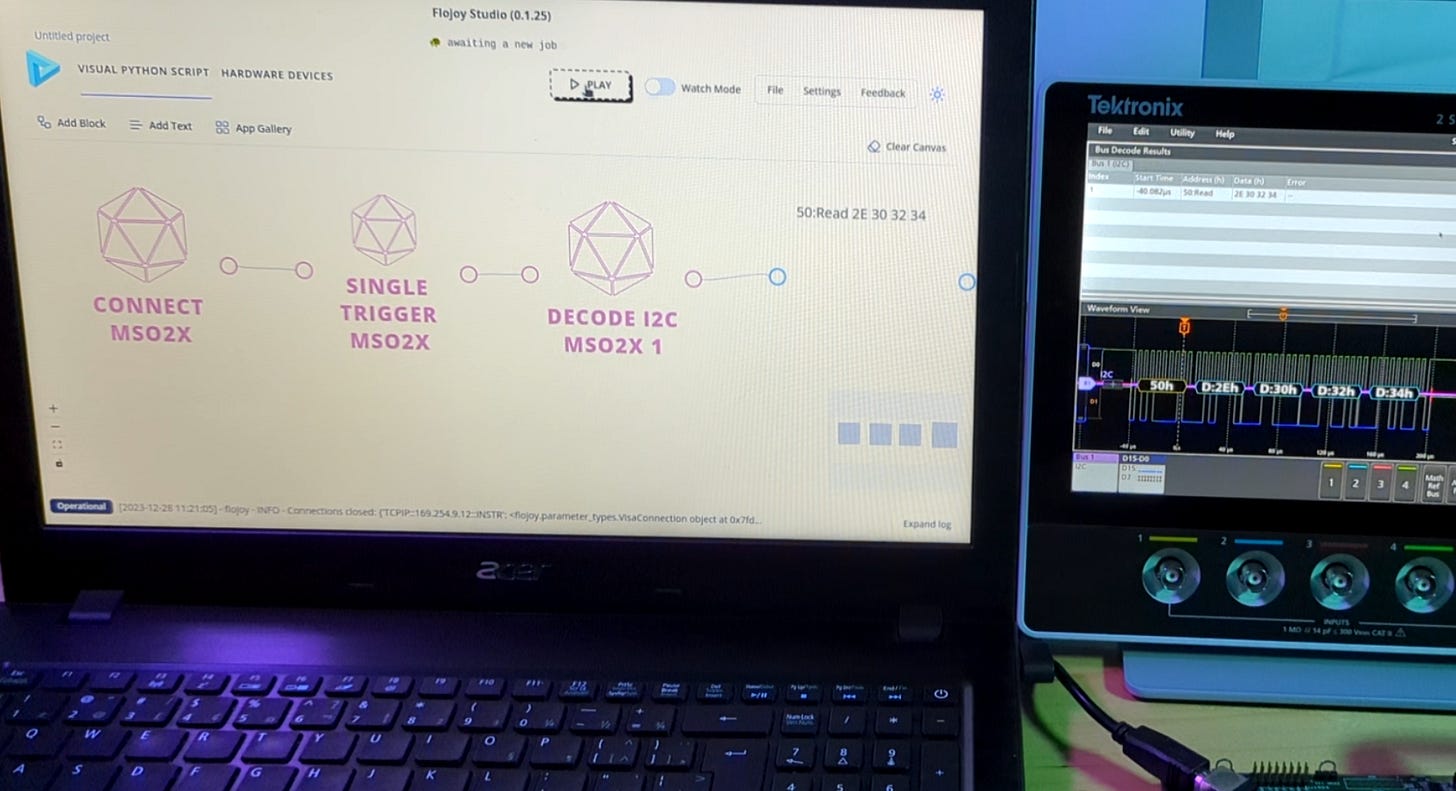
Once the app is setup, run it. The resulting decoded message should be displayed (in TEXT VIEW). You can run the app multiple times or put it inside a loop to continuously run it.

Congrats you’ve decoded an I2C message! If you had any difficulties here, or any comments or suggestions please contact us.


great article for sure.
Annoying issue is Flojoy fails to finish installation in every PC I have tried.
The error log says Python not found or many related error. But Pythos was successfully installed & PATH added.
I posted it in Discord, but doubt if anybody looks at it!
Any help in the matter will be greatly appreciated.